
Click on the second button in the menu at the bottom of your app to access your expenses.

1. “All” tab
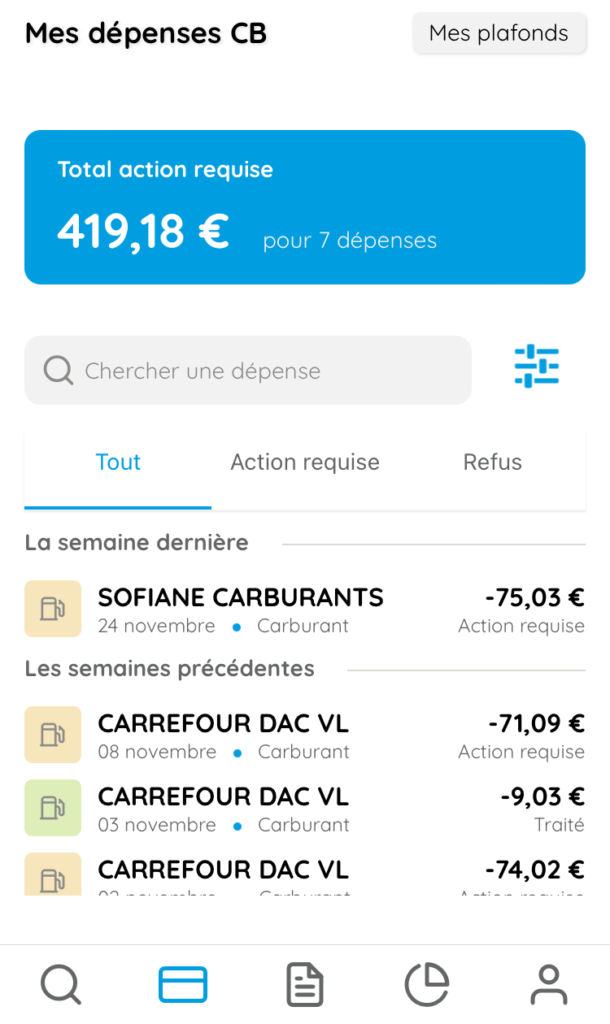
This tab gives you an overview of your expenses, whether they have been accepted, rejected or pending.
Icons indicate the category of expense, and a colour code indicates the status of the expense. Orange indicates that action is required: adding a receipt for the expense, for example. Green indicates that the expense has been incurred (and debited). In red, the expense could not be incurred (details of the reason can be found by clicking on the expense).
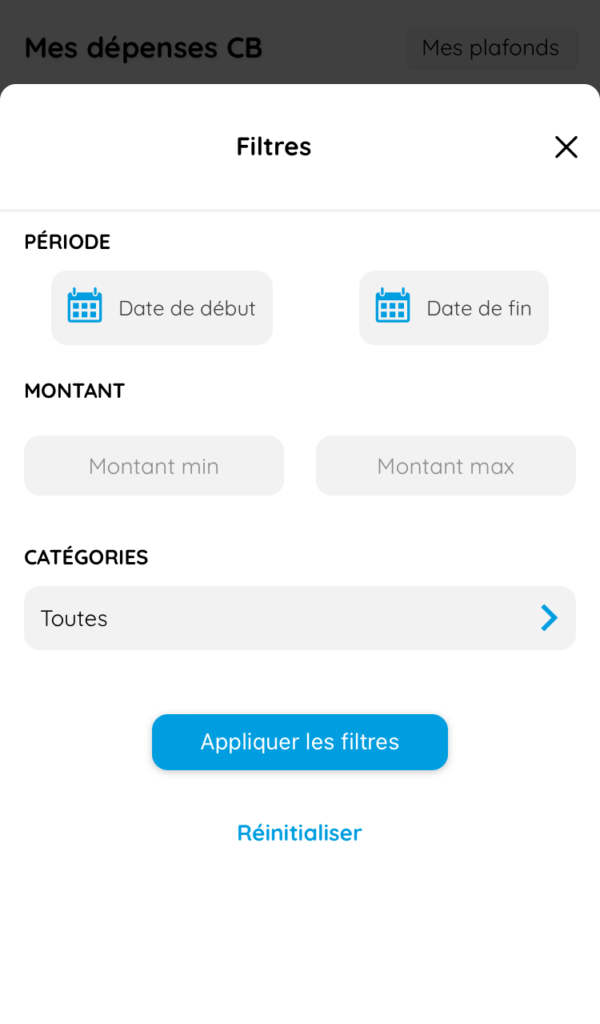
You can use filters to find certain expenses more quickly.
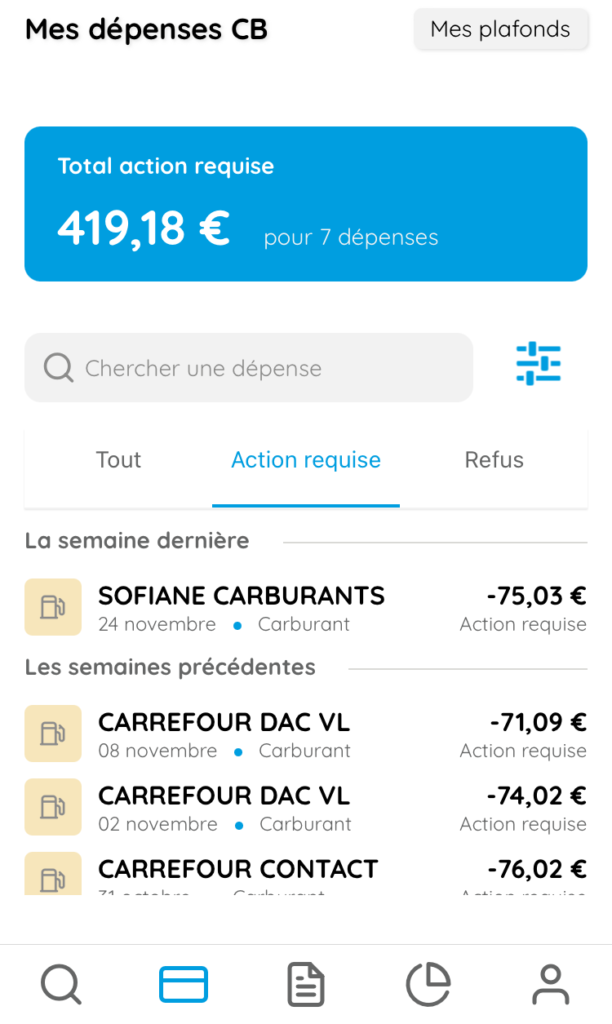
2. “Action required” tab
In this tab, you will find the list of expenses requiring action on your part: you are invited to click on each expense to complete it: enter the plan concerned, the VAT, the category, the reason and attach the supporting document.
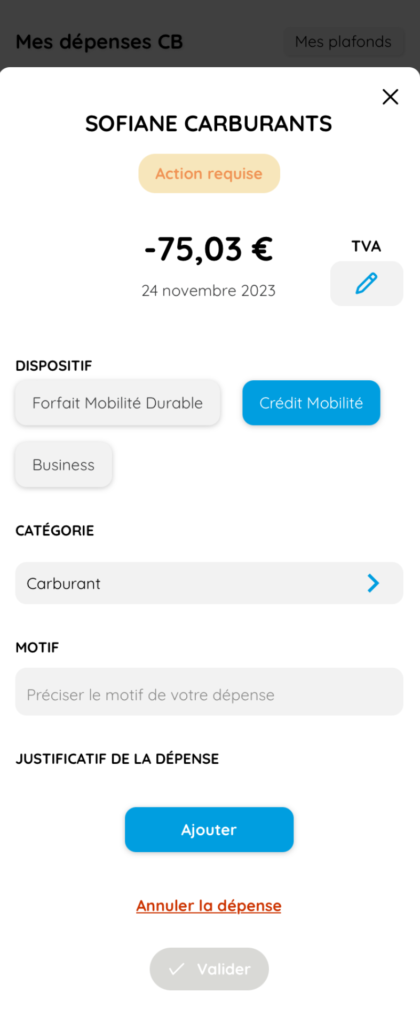
You can also change the VAT if it is incorrectly listed. Then click on “Add” to attach proof of expenditure (credit card receipt, invoice, etc.).
Finally, click “Save”.
This expense will therefore be displayed with the corresponding colour code.
3. “Refusal” tab
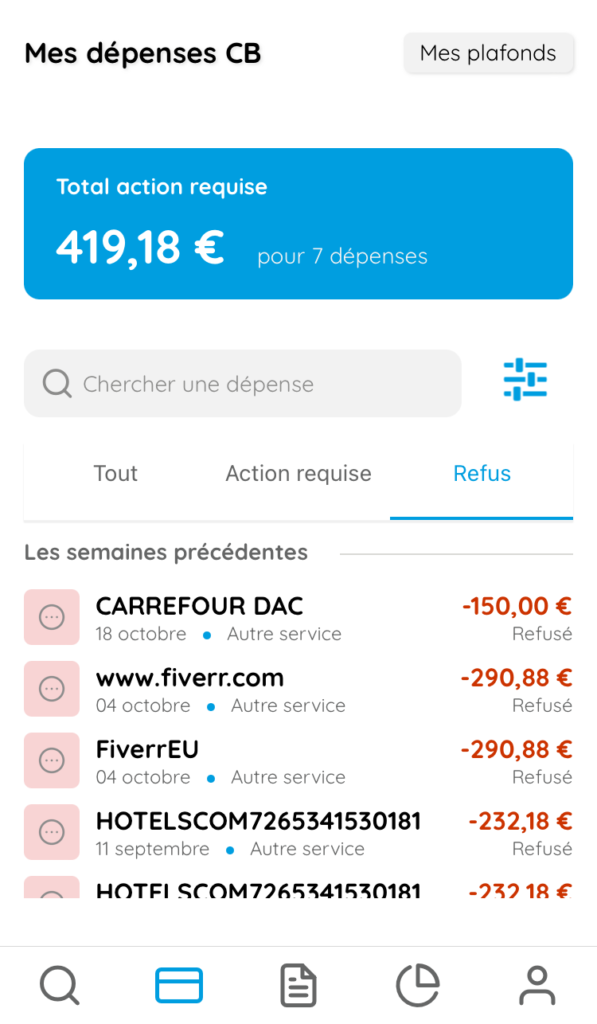
If your expense or reimbursement request is shown inred (with the reason “Refusal”), you can view the reason for the refusal by clicking on it. This may be due to a technical incident, an overrun of the ceiling, an unauthorised category, etc.
4. My ceilings
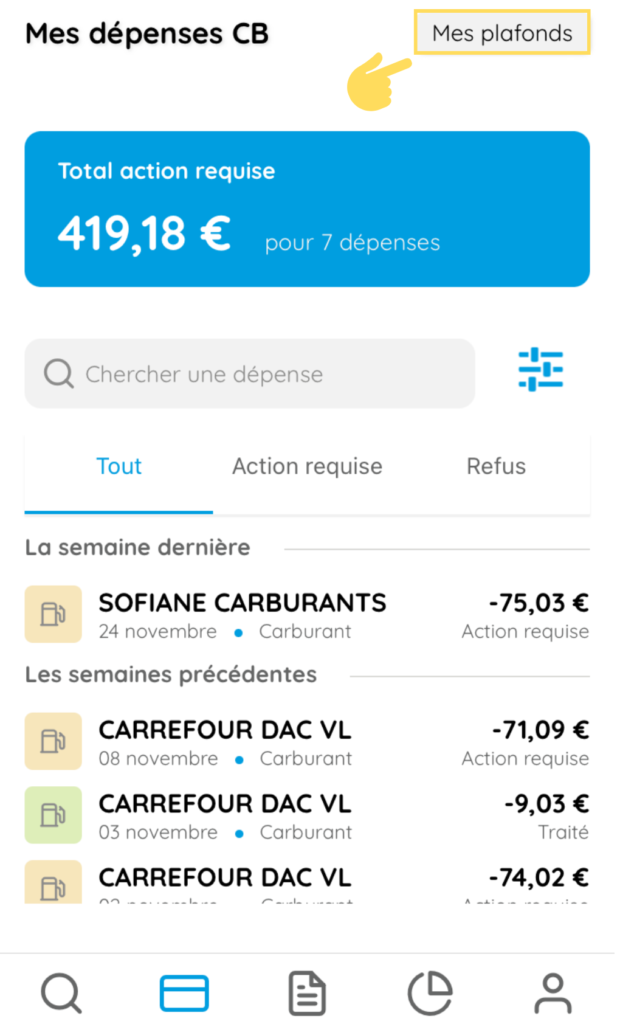
In the top right-hand corner of your screen, you can view your spending limits and the plans that apply to you. For more details on the ceilings, click here.